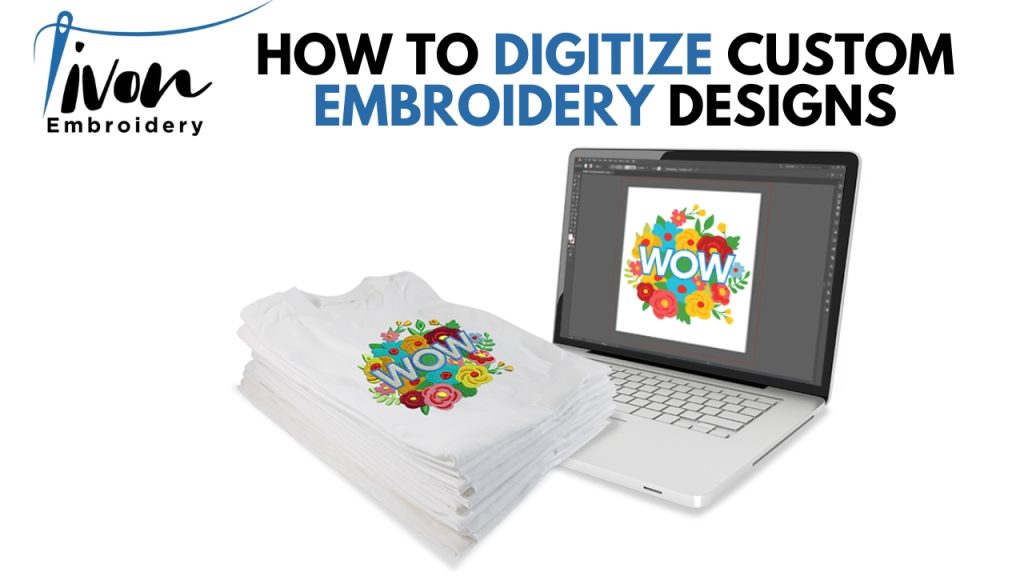
Embroidery allows you to personalize clothing, accessories, and home decor with beautiful, stitched creations. But what if you have a one-of-a-kind design you want to embroider? That’s where digitizing comes in! This process transforms your artwork into a format your embroidery machine understands, allowing you to stitch your vision into reality.
This guide will equip you with the knowledge to digitize your custom embroidery designs. We’ll explore:
- What is Embroidery Digitizing?
- Do-It-Yourself Digitizing vs. Professional Services
- Essential Tools for Digitizing (Software & Hardware)
- Steps to Digitizing Your Design (Simple Guide with Bullet Points)
- Choosing the Right Digitizing Software (Considering Ease of Use)
- Costs Associated with Embroidery Digitizing

What is Embroidery Digitizing?
Embroidery digitizing translates your design (image, logo, drawing) into a specific set of instructions for your embroidery machine. This code tells the machine what stitches to use, thread colors, and stitch order to recreate your design on fabric.
Do-It-Yourself Digitizing vs. Professional Services
There are two main ways to approach embroidery digitizing:
- Do-It-Yourself (DIY): Software allows you to convert your designs yourself. This offers creative control and cost savings, but requires learning the software and understanding embroidery techniques.
- Professional Digitizing Services: Embroidery professionals can handle the digitizing process for you. This is a great option for complex designs, large quantities, or if you lack the time or software expertise.
Essential Tools for Digitizing
Software:
- Digitizing Software: This is the heart of the process. Popular options include Wilcom, Hatch Embroidery, Embird, and Brother PE-Design (depending on your machine brand).
- Graphic Design Software (Optional): If your design isn’t already in a digital format, you might need software like Adobe Illustrator or Inkscape to create or edit it.
Hardware:
- Computer: A reliable computer with enough processing power to run your chosen digitizing software smoothly.
- Embroidery Machine: This is where the magic happens! Ensure your machine is compatible with the file format generated by your digitizing software.
Steps to Digitizing Your Design (Simple Guide)
- Prepare Your Design: Ensure your design is a clean, high-resolution digital file (JPG, PNG, SVG, etc.) If needed, use graphic design software to refine it for embroidery.
- Import Your Design: Open your digitizing software and import your image file.
- Define Underlay: Choose the type of fabric stabilizer you’ll use and define an underlay stitch pattern to secure the fabric while stitching.
- Object Creation: Use the software’s tools to trace the outlines of your design, defining separate objects for different colors or textures.
- Stitch Selection: Choose appropriate stitch types for different design elements (satin stitch for fills, running stitch for outlines, etc.).
- Color Matching: Select thread colors from your embroidery software’s library or import custom colors to match your design.
- Trimming and Cleaning: Use the software’s tools to refine your stitches, eliminate unnecessary points, and ensure smooth transitions.
- Test Stitch (Optional): Create a small sample of your design on a scrap fabric to test stitch quality and make adjustments before embroidering your final project.
- Save and Export: Save your design file in a format compatible with your embroidery machine.
Choosing the Right Digitizing Software (Considering Ease of Use)
There are many digitizing software options available, each with its own features and learning curve. Here are some popular choices with a focus on user-friendliness:
- Brother PE-Design: Often bundled with Brother embroidery machines, this software offers a user-friendly interface for beginners.
- Embird: A versatile option with a range of tools, Embird offers tutorials and a supportive community for learning.
- Inkstitch (Free & Open-Source): This free software integrates with Inkscape, a popular graphic design program, making it a budget-friendly option for those comfortable with open-source tools.
Costs Associated with Embroidery Digitizing
The cost of digitizing your designs depends on several factors:
- Complexity of Design: Simple designs with few colors are less expensive to digitize than intricate designs with many colors and details.
- Software: Free or subscription-based software is more affordable than purchasing professional software licenses.
- Professional Services: Hiring a digitizing service varies depending on the service provider, design complexity, and turnaround time.
